
How to Make an Easy Chunky Yarn Tree

Whether your style is farmhouse, boho, traditional, or minimalist, a simple chunky yarn tree is the perfect holiday decoration for your home!
Have you ever gone to a holiday craft show?
What a great way to find one-of-a-kind gifts!
Or to get inspired to get crafty yourself.
When I was a kid, way back in the 70s and 80s, my church hosted a Christmas bazaar, and I have so many memories of making crafts for the bazaar with my mom!
Now, to be fair, for years the crafts that I made rarely made it out of our house… LOL
But my mom?
She was so talented and created tons of fantastic projects.
Strawberry ornaments made from walnuts, salt dough ornaments, and crocheted lace snowflakes are just a few of her creations.
And of course, some of those crafts stayed in our home!
Which meant decorating for Christmas was often a walk down memory lane.
Pulling out decorations brought memories of making them, and I still love seeing some of those crafts in my parents’ home.
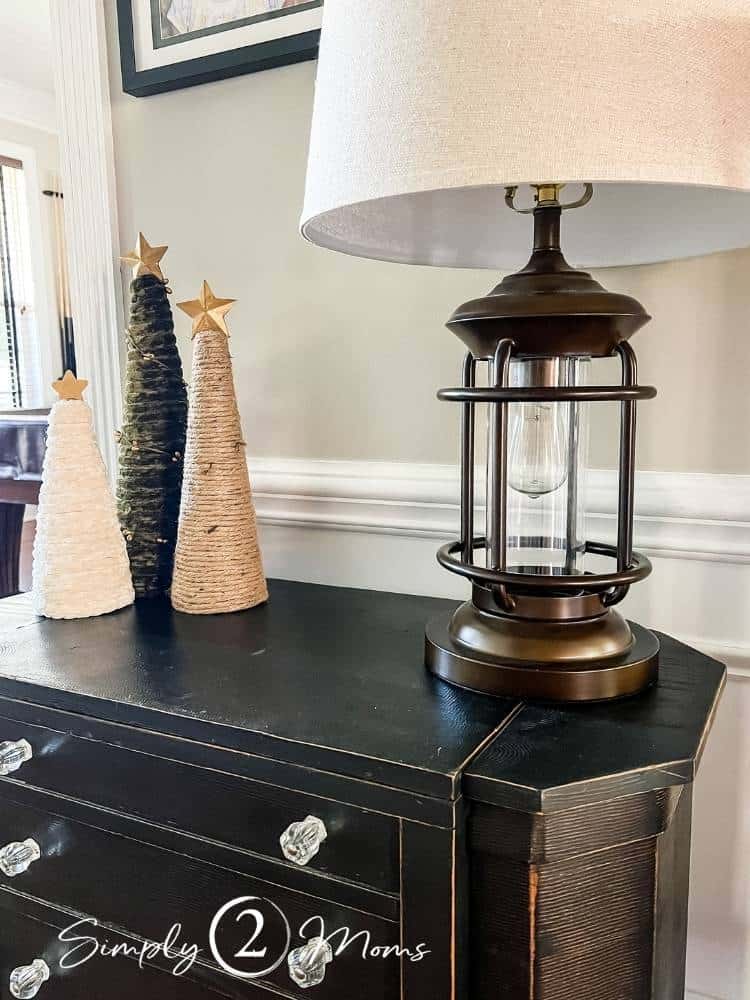
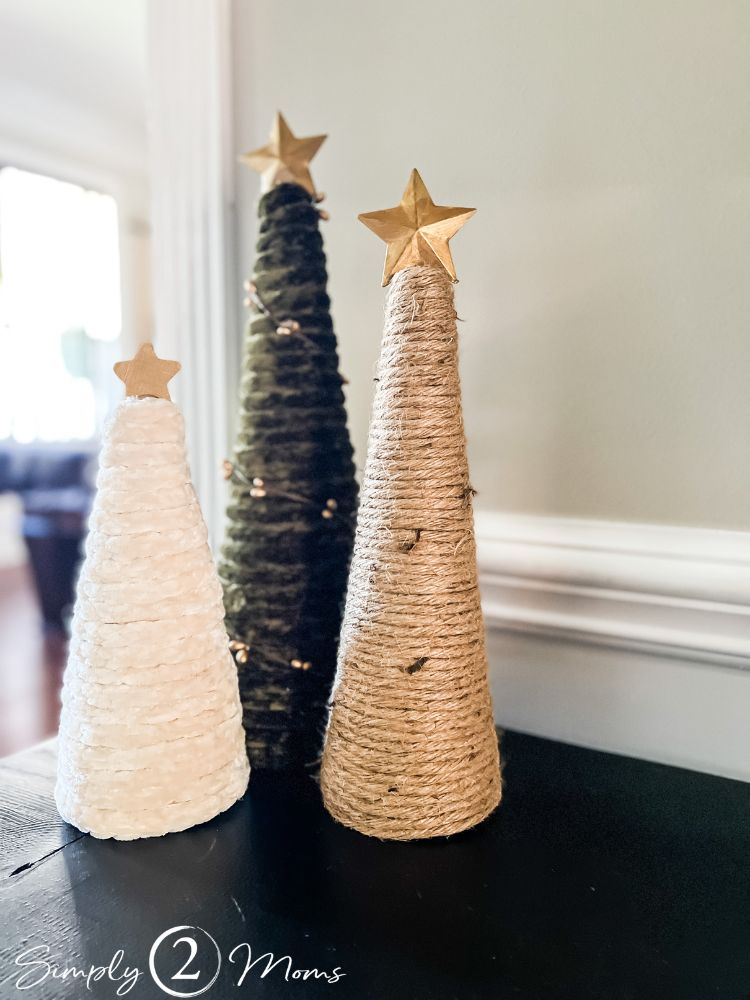
This is why I love finding craft projects that are simple and classic like these chunky yarn trees!
After all, tastes can change over time, right?
But these trees will coordinate with any color scheme and almost every decorating style.
Plus, they’re so easy to make!
We’re both using them all over our homes to decorate this year.
Just wait until you see how AnnMarie used them to create a stunning tablescape…
Other Easy DIY Tree Projects
Posts on Simply2Moms may contain affiliate links which means we may earn a small commission on purchases at no extra cost to you. As an Amazon Associate I earn from qualifying purchases. You can read our full disclosure policy here.
How to Make a Chunky Yarn Tree
You only need a few things to make these trees, and most items are easily found in your local craft store.
Or on your doorstep, if you prefer ordering the supplies online!
We’ve included a complete supply list with links at the end of this post.
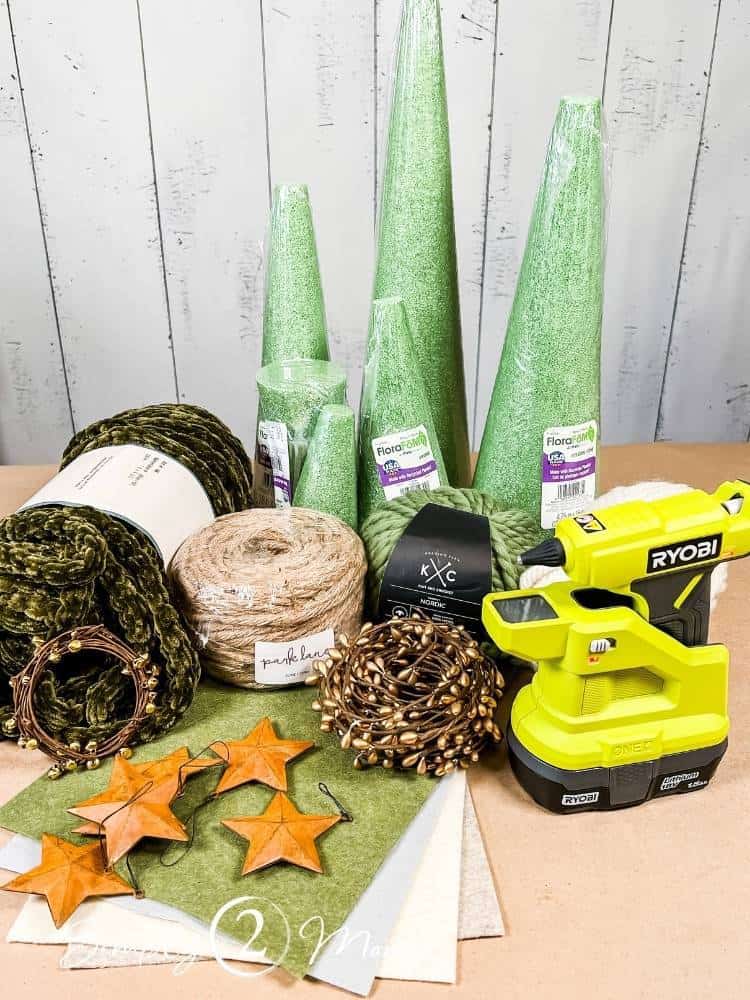
It all starts with styrofoam tree forms.
You could also make a cone shape using heavyweight cardstock.
Next, choose a color scheme.
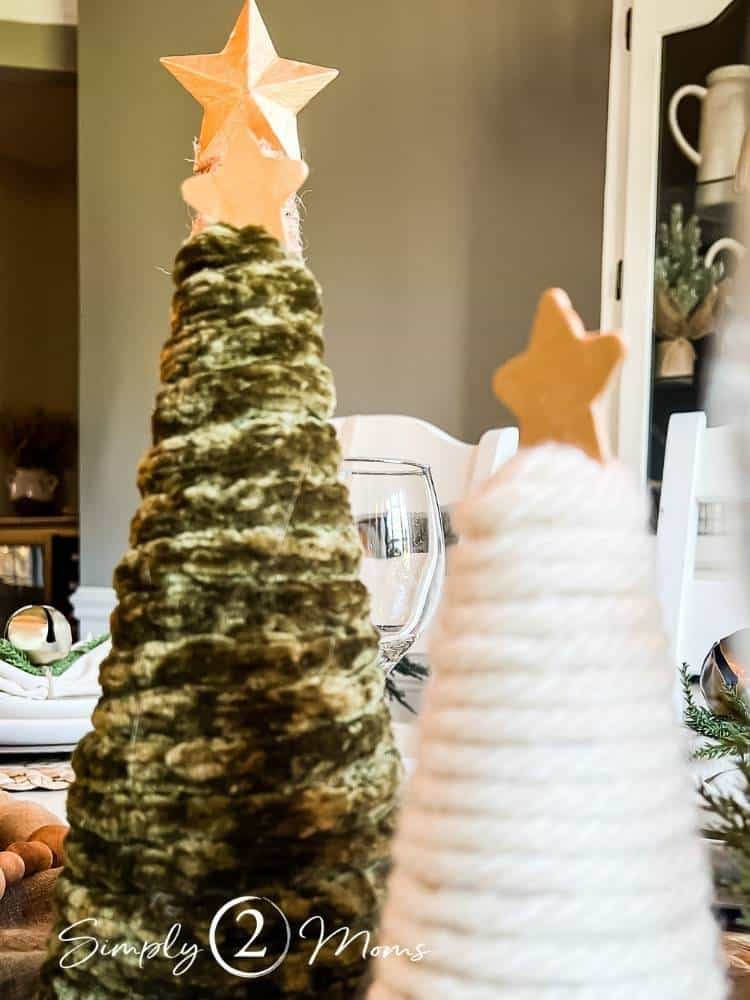
AnnMarie and I prefer a very natural color scheme of greens, browns, and cream.
But you could easily go more colorful if that’s what makes you happy!
Once you know the colors you want to use, you’ll need chunky yarn or even jute rope, and coordinating sheets of felt.
A hot glue gun like this awesome cordless one from Ryobi is how you assemble the tree.
We chose to add metal stars on top of our trees to give them a “Christmas tree” feel.
And a few of our trees got some pretty gold berry garland too!
Check out how easy these trees are to assemble.
1. Trace the base of the tree

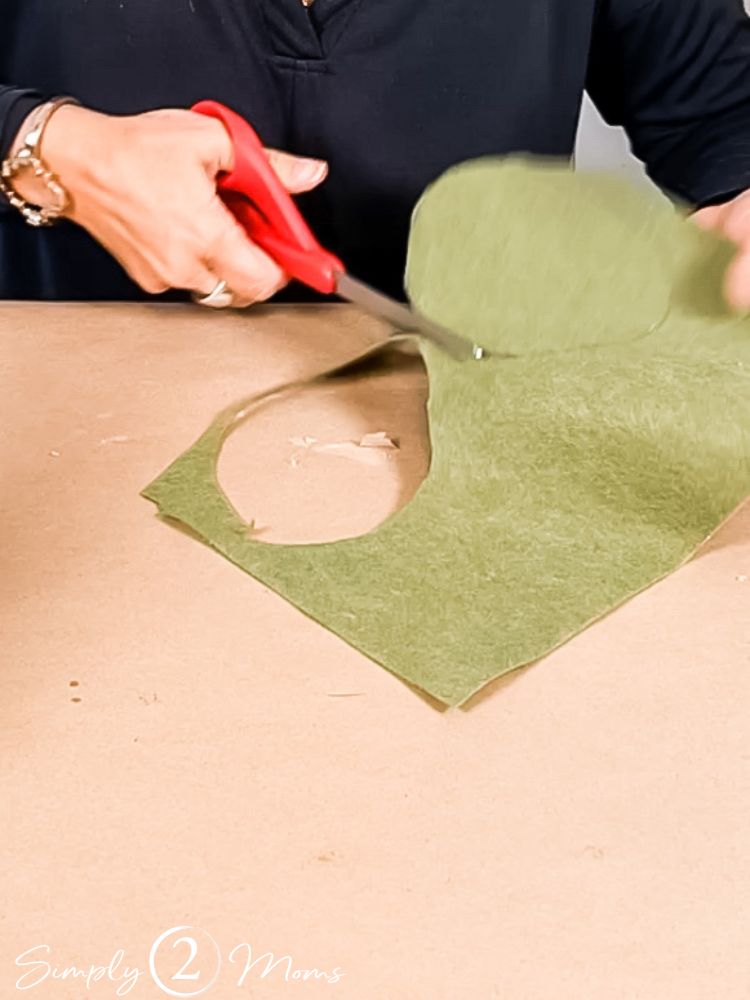
Give your tree a smooth base that won’t scratch any surface with felt.
Simply trace the base of the tree on felt similar to the color of the yarn you plan to use and cut it out.
2. Attach the felt to the bottom of the tree form
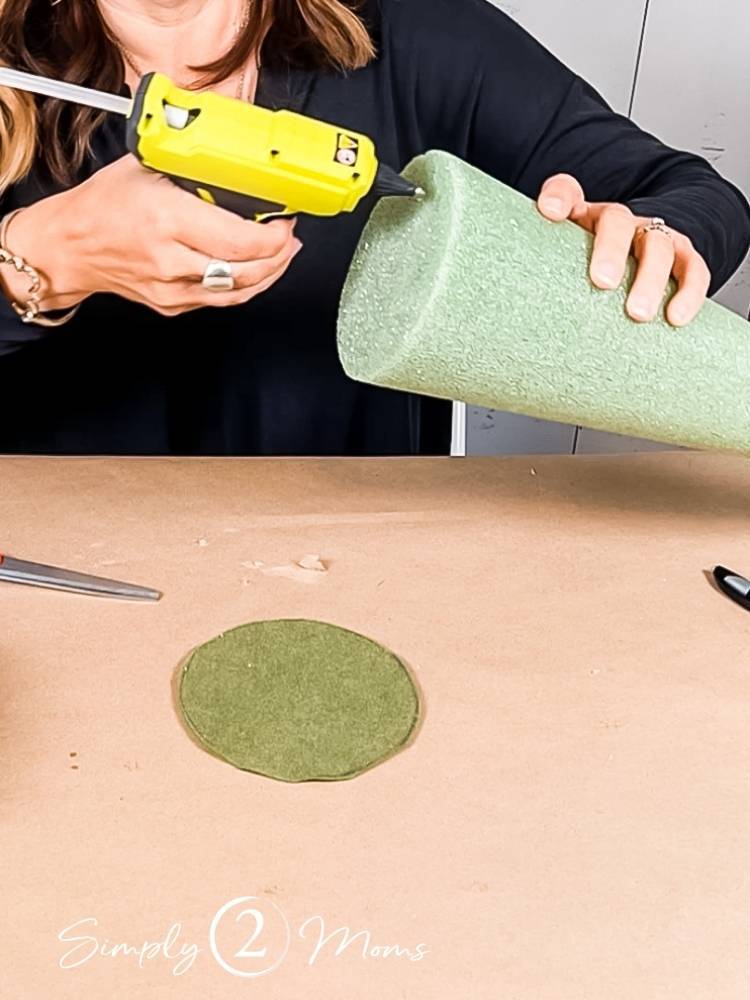
Use a hot glue gun to attach the felt to the base of the styrofoam tree form.
You can either put the glue on the felt or on the base of the tree.
Just be careful when you smooth the felt onto the base because hot glue can really burn if it squooshes out of the side…
3. Attach the yarn to the tree form
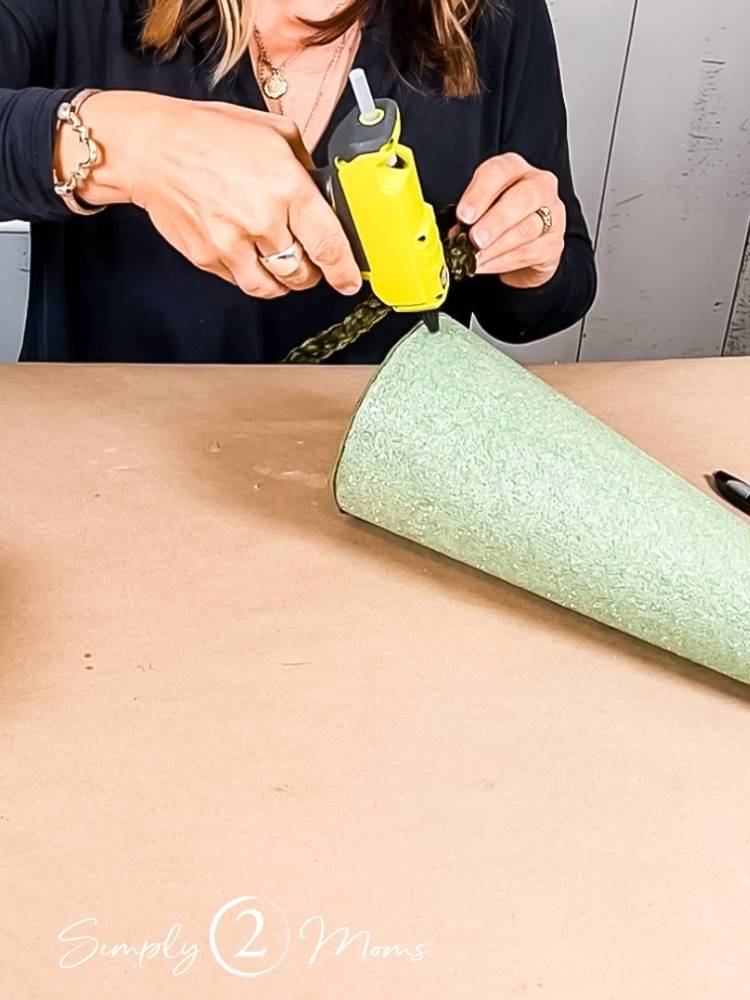
If the yarn you’re using is very thick, attach the yarn to the outer edge on the bottom of the tree.
Or, if the yarn is a little thinner, you can place the edge of the yarn under the felt.
4. Wrap the yarn around the tree form
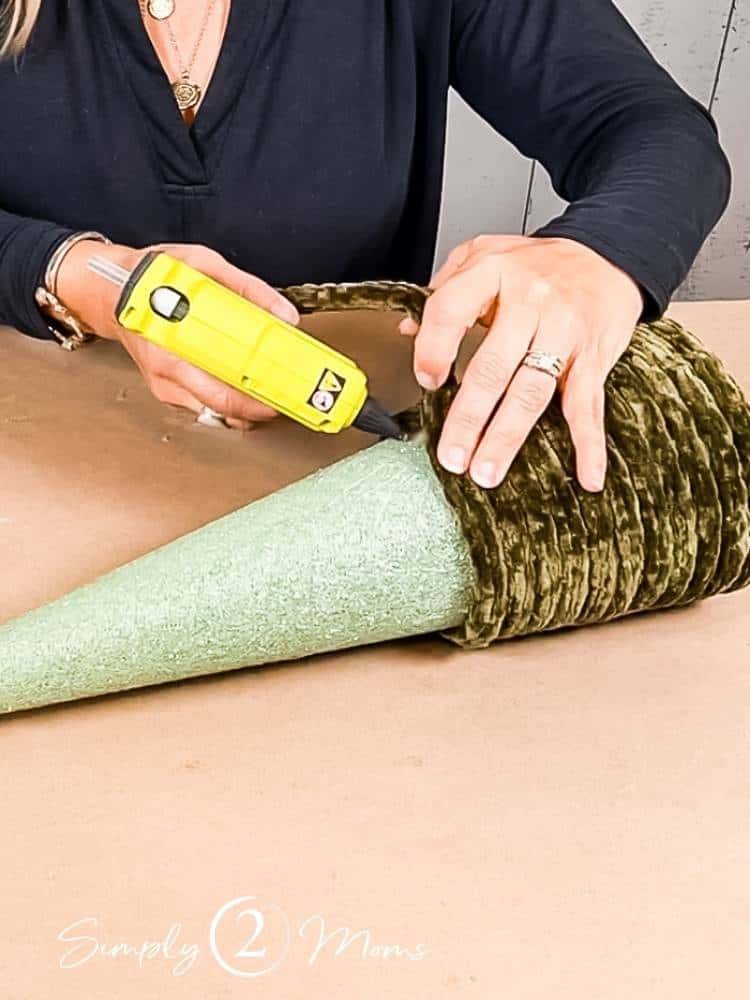
I like to wrap the yarn on my trees with the form lying on its side.
AnnMarie prefers wrapping her trees sitting upright.
There’s not a right or a wrong way to do it!
We recommend adding a dot of glue every inch or two to secure the yarn.
5. Tuck the end onto the top

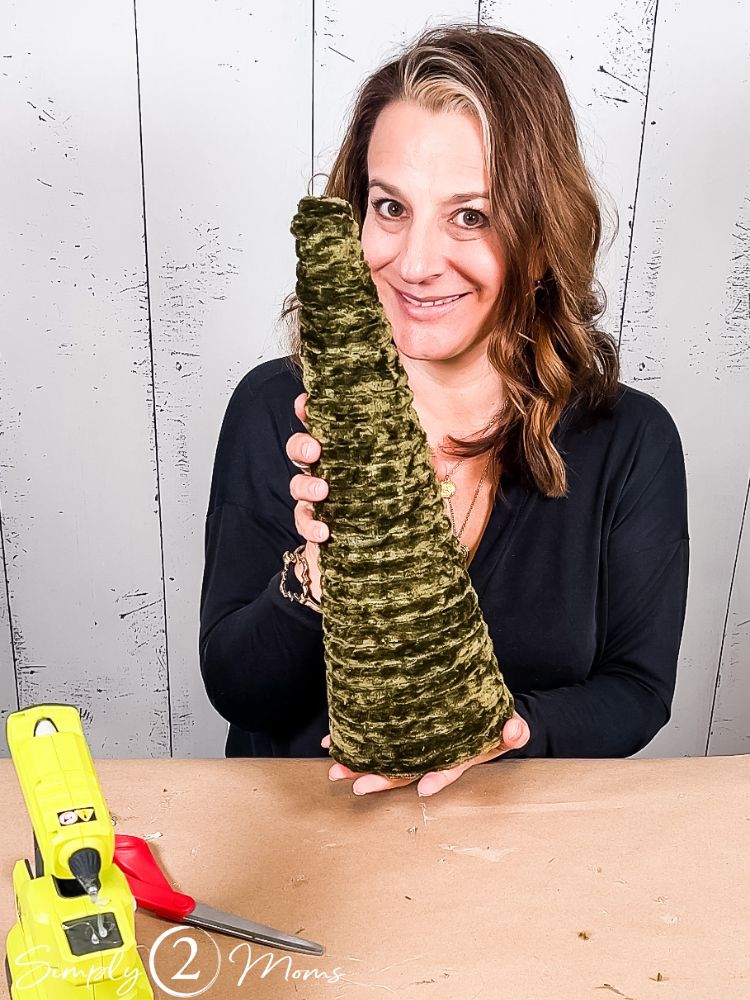
When you reach the top of the tree form, cut the yarn, leaving about a 1-inch tail.
Add a dollop of hot glue on the top of the tree form.
Then fold that tail in on itself and tuck it all into the top of the tree.
6. Add embellishments that complement your style (optional)
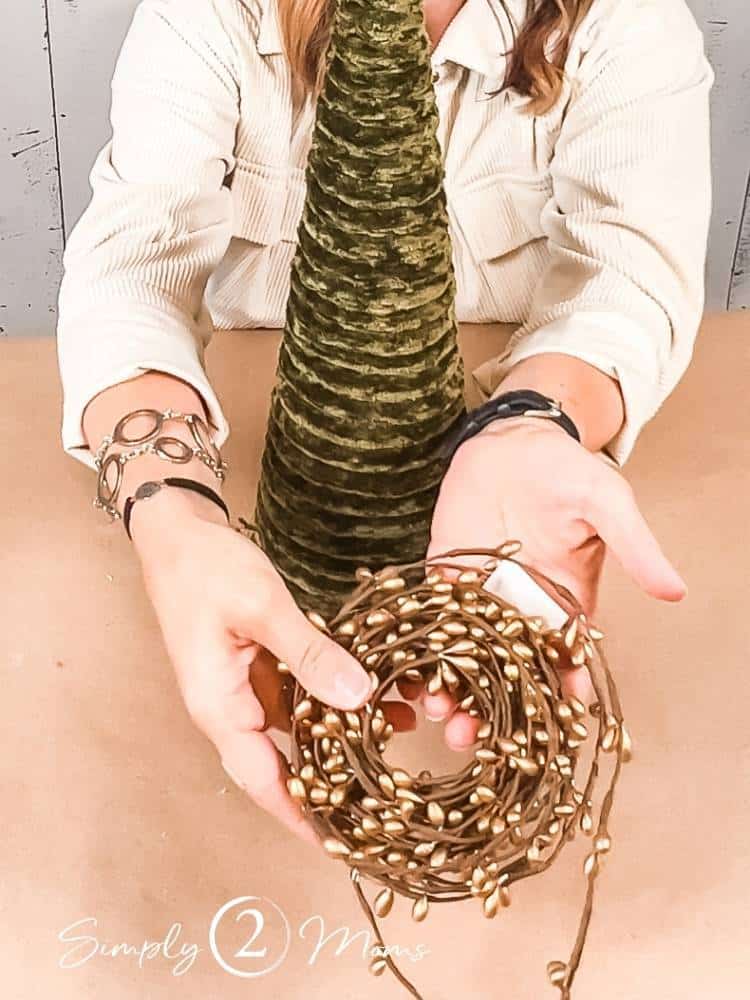
I found these garlands of gold berries and knew they would be amazing on the olive green velvety yarn!
The garland is made from wire wrapped in brown florists tape so it’s super easy to use.
Simply tuck the end of the wire into the bottom of the tree form, then wrap it around up to the top.
You can add as much or as little as you want.
When you get to the top, cut the garland and push the tip of the wire into the top of the tree.
7. Put a star on top!
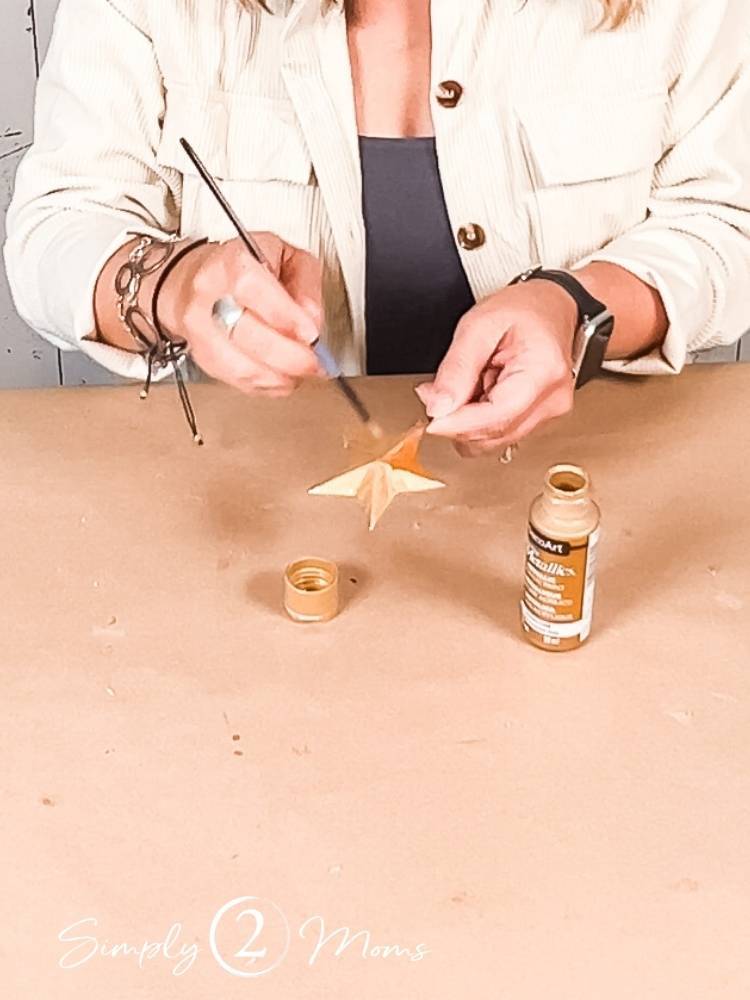
AnnMarie and I love the way these trees look with a star on top.
You can find pre-made stars that are ready to use, and don’t be afraid to use some paint to get them the color you want!
We found some rustic metal stars similar to these but they were a little bit too rustic for the look we wanted.
A little spun gold acrylic paint gave them exactly the right color.
Some more hot glue attaches the stars to the tops of the trees.
This post includes some affiliate links which means we may earn a small commission at no extra cost to you. You can read our full disclosure policy here.

Click on any of the images below to buy

If you have any questions or suggestions, contact me or leave a comment!
Don’t miss any of our tips, tricks, or stories! We’d love for you to follow us on social media! You can find us on TikTok, Instagram, Pinterest, and Facebook.

Pin it to Remember it!

Beautiful trees. Your tutorial is so good and clear. I love the chunky yarn and you made it easy to understand
THANK YOU.
Thanks, Ann! So glad you liked this project!
These are so cute.
Thanks Rachel!
Really clever! Remember the tree We made to cover with parsley held on with rubber bands then the ornaments are cherry tomatoes, cheese chunks, olives, and other bite sized food nibbles? My mom did one yearly! Always a hit!
I do remember those trees! I’d forgotten about that, but you’re right, they look so pretty and always yummy! I’ll have to give that recipe a try again this year and then share it here. Thanks for helping me to remember!