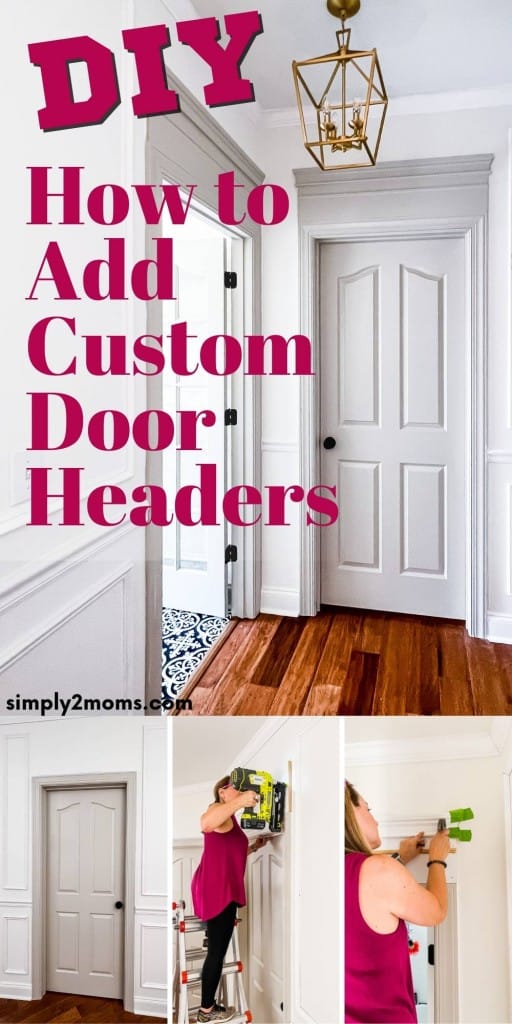
How to Make Your Doors Look Custom by Installing Door Headers
Want to give your builder-basic home a custom look for less? Try upgrading your doors by installing trim to create custom door headers!
For years, decorating and remodeling projects in parts of our home that weren’t “public” haven’t been a priority.
Either we didn’t have the time because we were at baseball and soccer tournaments on the weekends.
Or we didn’t have the money, because baseball and soccer aren’t cheap.
But now that the kids are grown, and more or less flown, we have more time.
And while money is still tight with one in college, we’ve been investing what we can into our home.
Last year we decided we would stay in this house for the foreseeable future, so we wanted to make updates to help it look more current.
After all, the changes will help it sell more quickly whenever we do end up moving!
Plus, why wait until it’s time to sell to get your home looking its best?
This blog has been a motivation too!
Some changes have been small, like painting the marble fireplace surround and beefing up the mantel.
And others have been pretty big like the laundry room, the game room, and the kitchen.
Lately, the upstairs hallway has been consuming my time!
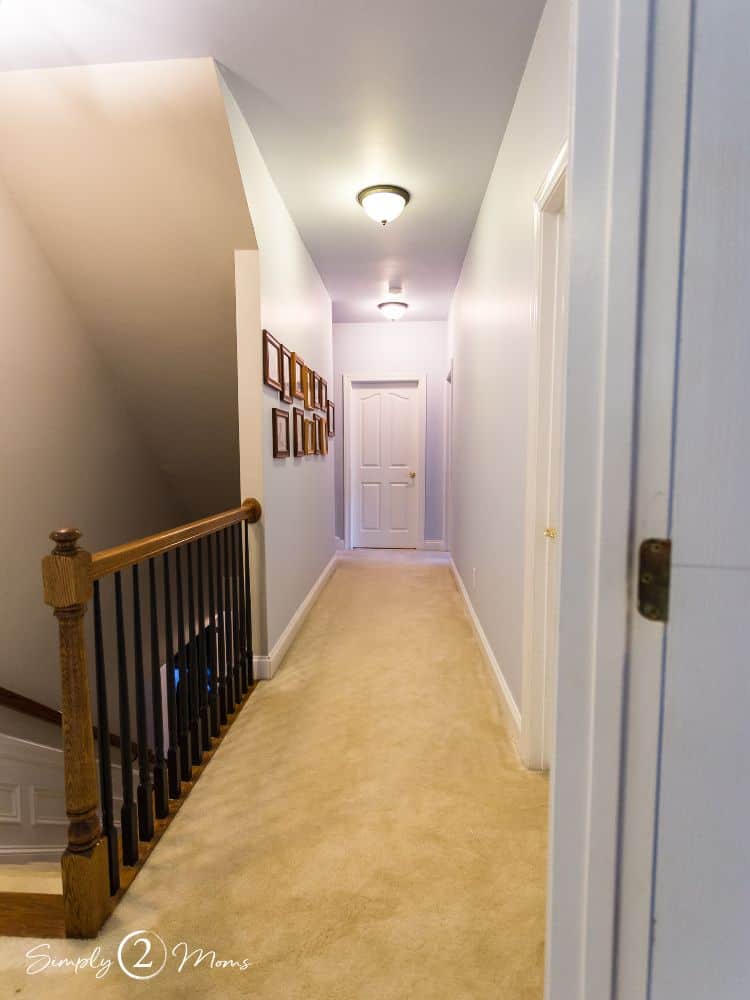
Updating a Dark and Narrow Hallway
There’s been a lot of painting up there, and then AnnMarie and I have been installing all kinds of trim and moulding.
By ourselves!
We’re pretty proud of what we’ve learned along the way.
Adding decorative headers above all the doors really changed the look of the space!
So you can appreciate how much has changed, let’s start out with a before picture.
Disclaimer: This post is brought to you by Woodgrain. We received trim from Woodgrain to use and review. All opinions expressed in this post are our honest feedback based on our experiences. Thanks for supporting the brands that support this blog!
- Updating a Dark and Narrow Hallway
- What is a Door Header?
- How to Choose Trim for a Decorative Door Header
- What Tools Will You Need to Install Interior Door Header Trim?
- Cutting the Pieces for the Decorative Headers
- How to Cut Mitered Trim
- How to Install the Custom Decorative Door Headers
- Check Out This Before and After!
Posts on Simply2Moms may contain affiliate links which means we may earn a small commission on purchases at no extra cost to you. As an Amazon Associate, I earn from qualifying purchases. You can read our full disclosure policy here.
What is a Door Header?
In construction, a header is vital to install doors securely.
Windows have them too.
They’re generally made of studs and king studs, and trimmers.
In other words, lots of wood.
They’re kind of like bridges.
These headers are essential for the structural integrity of your house.
All kinds of math and engineering go into calculating their proper size and construction!
This post isn’t about those kinds of door headers.
Because as important as they are, they’re covered up by drywall and you don’t ever see them.
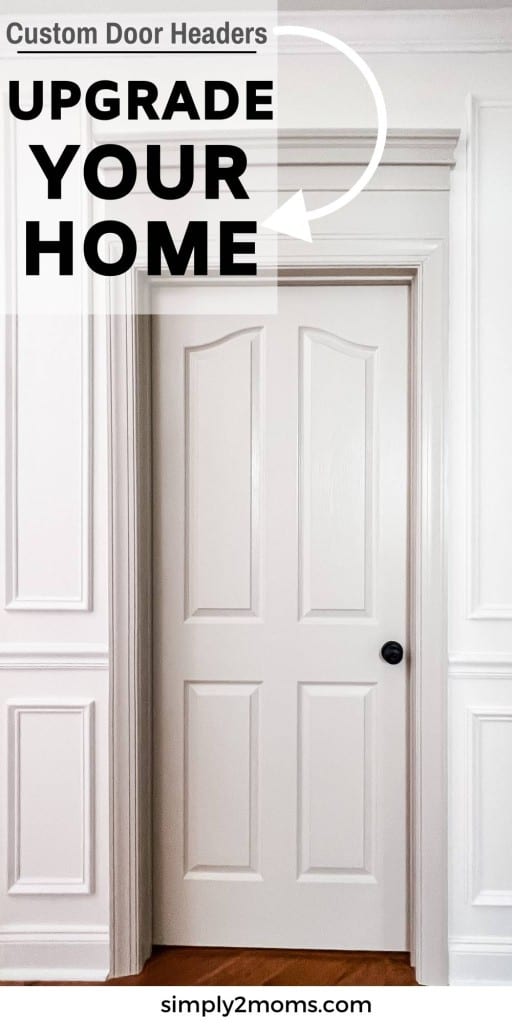
This post is about how to build a decorative header above an installed door frame to give the space a custom look.

After installing the picture frame boxes, chair railing, and crown molding, the blank space above the doors needed something.
Something like custom door headers!
How to Choose Trim for a Decorative Door Header
Choosing the trim for a decorative custom door header has never been easier thanks to Woodgrain!
Woodgrain offers such a huge variety of millwork options that it might feel overwhelming at first.
But they’ve separated their mouldings into categories to help you hone in on which ones work best for your home’s design and your personal style.
Browse through coastal, colonial, craftsman, and Victorian collections to choose which options you prefer.
My home is traditional and my style is more transitional.
I tend to prefer the millwork from their colonial collection.
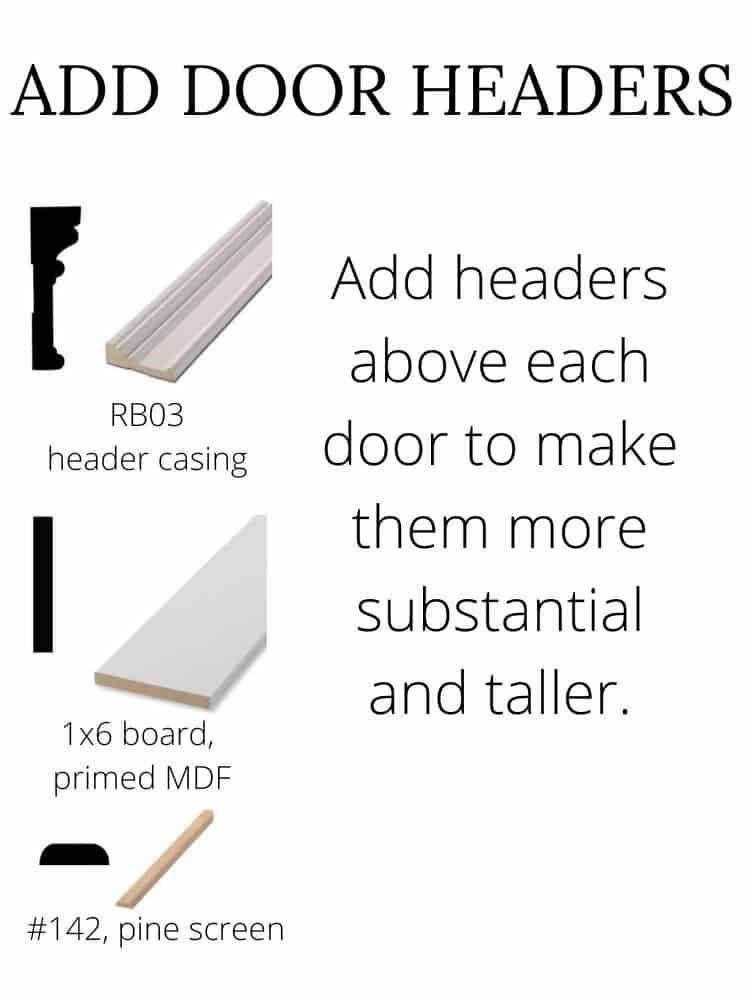
I’ve listed the specific products I used for my door headers, including the item numbers above.
You can find a Woodgrain dealer near you here.

Here’s how I put those pieces together to create my traditional door header design.
Since I have 9-foot ceilings on the second floor of my house, I needed to stack two 1×6 boards on top of each other to make the header more substantial.
The window casing is attached so it’s flush with the top edge of the second 1×6 board.
I got lazy and opted not to wrap the pine screen trim around the sides…
A little caulk was sufficient to cover that small seam.
What Tools Will You Need to Install Interior Door Header Trim?
If you’ve done DIY projects before around your home, you probably have most of these tools and supplies on hand.
I’ve included shopping links below in case you don’t have something on hand.

This is everything I used (except for painting supplies):
- Compound Miter Saw on a Rolling Miter Saw Stand connected to a Shop Vac to reduce sawdust
- Ryobi Cordless AirStrike Nail Gun
- 16-gauge 2-inch brads
- Level
- Wood Glue and Painter’s Tape
- Tape Measure
- Nail Set and Hammer
- Joint Compound and Putty Knife
- 120-grit Sanding Sponge
- Caulk and Caulk Gun
- Ratcheting Clamps (not necessary but helpful for some of the smaller cuts)
Cutting the Pieces for the Decorative Headers
This is the first time AnnMarie and I have ever installed trim completely on our own, and we’re here to tell you that if we can do it, so can you!
It may have taken us a little longer than it would’ve taken our husbands, but that’s okay.
We learned so much!
I found it helpful to make all my cuts for all the doors at once, so when it was time to do the installation, I had all the pieces cut and ready to go.
Of course, each door had a slightly different width.
I wrote the room name on the back of each piece and used the first piece I cut for each door to help measure all the other pieces for that door.
The 1×6 boards and the screen molding were just straight cuts.
Things got a little more complicated for the casing!
How to Cut Mitered Trim
I chose to miter the edges on the window casing so that they angled out a bit at the top.
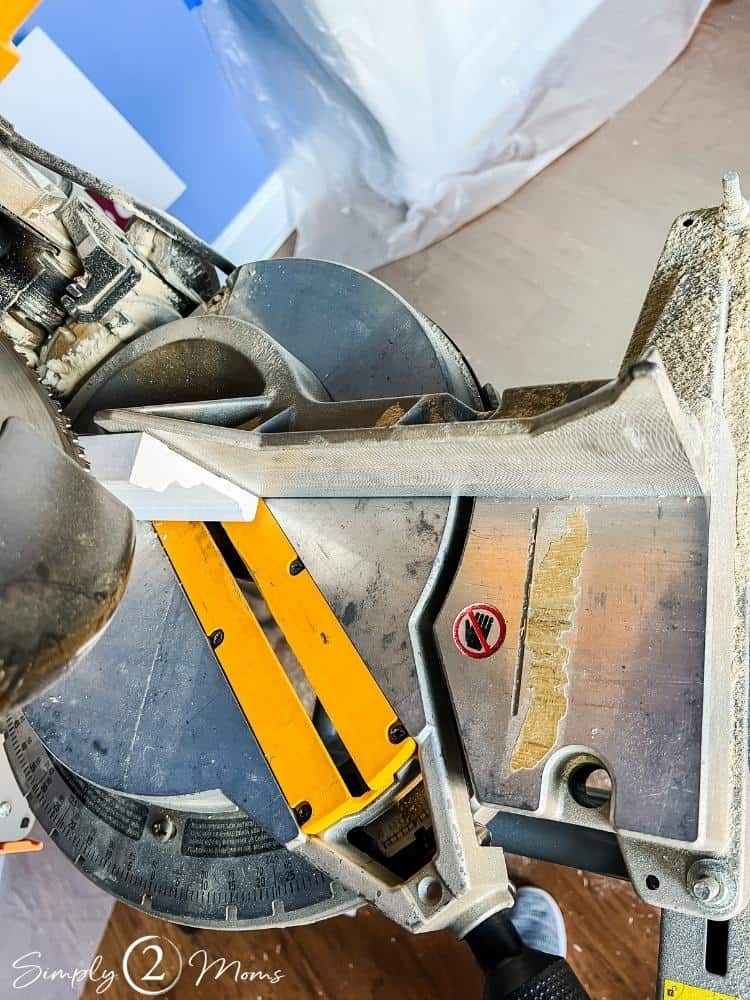
To make a mitered cut like this, you need to place the moulding on the table of the saw with the back edge flush against the fence of the saw.
My husband recommends thinking of the fence of the saw as if it’s the wall, so always put the molding on the saw the way that it will be installed on the wall.
Unless you’re cutting crown moulding… but that’s a whole other post!

You’ll be making 45-degree cuts on both ends of the casing (see diagram below).
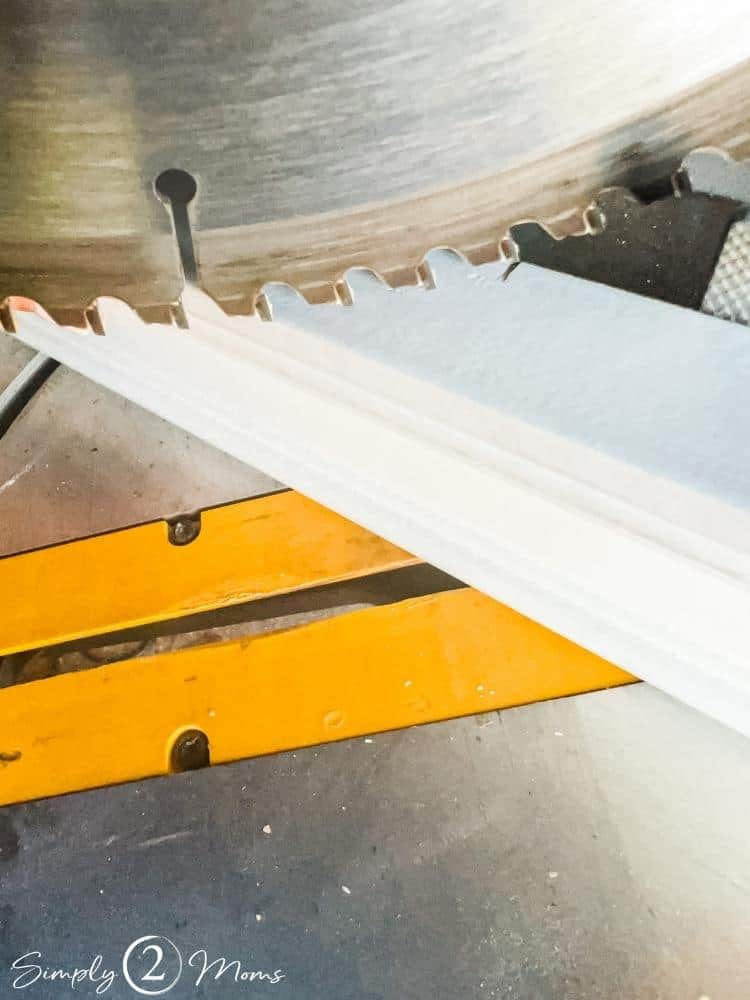
After making the first mitered cut, I took one of the pre-cut 1×6 boards for the door I was doing and used it to mark the location for the miter cut on the other end of the casing.
If you look carefully at the image above, you can see that the end of the 1×6 board is lined up so that the short side of the mitered edge is right on its edge.
Since the 1×6 board is already the correct length, I used it to mark the next mitered cut on the other end.
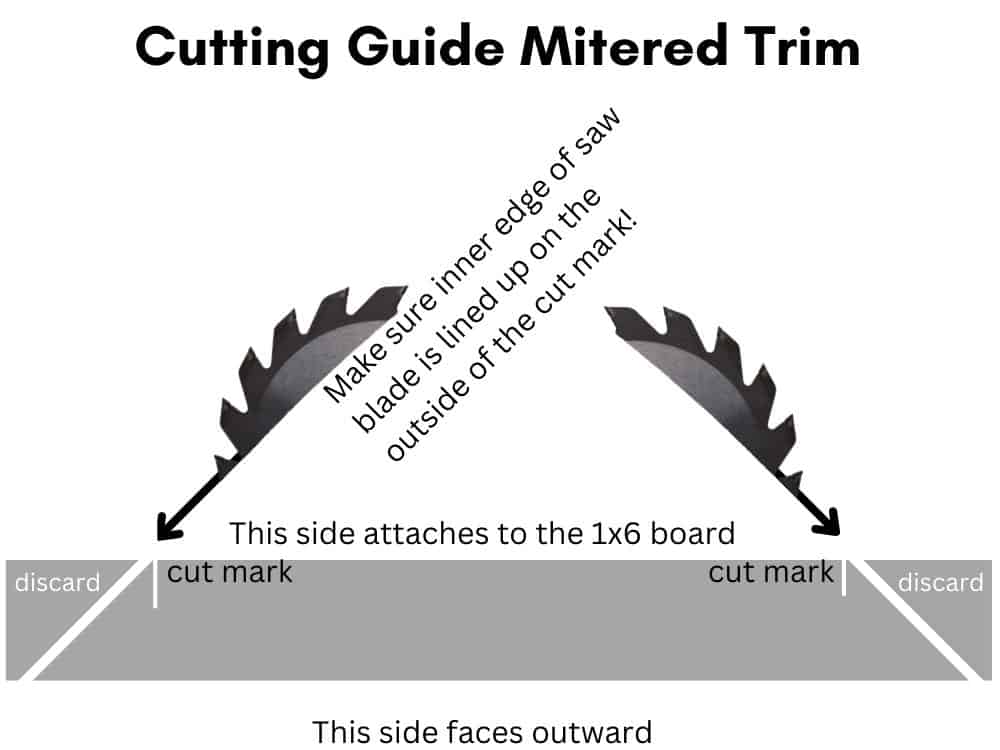
Be sure to line up the saw blade so that the edge closest to the cut is on the outer edge of your mark.
Otherwise, the blade will end up cutting away too much.
It’s hard to put it into words, so I made you a diagram to illustrate what I mean!
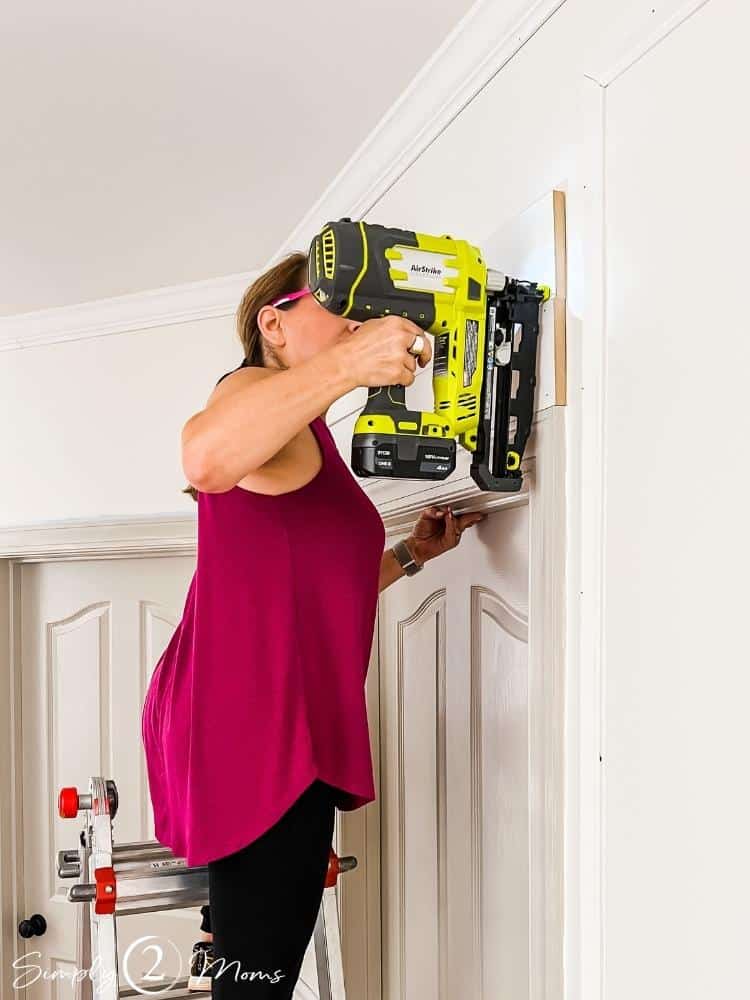
How to Install the Custom Decorative Door Headers
Installing the door headers was surprisingly simple!
The 1×6 boards fit perfectly above the door frame.
Remember those headers behind the drywall?
All those studs and king studs mean all of the trim for the decorative door headers is really secure!
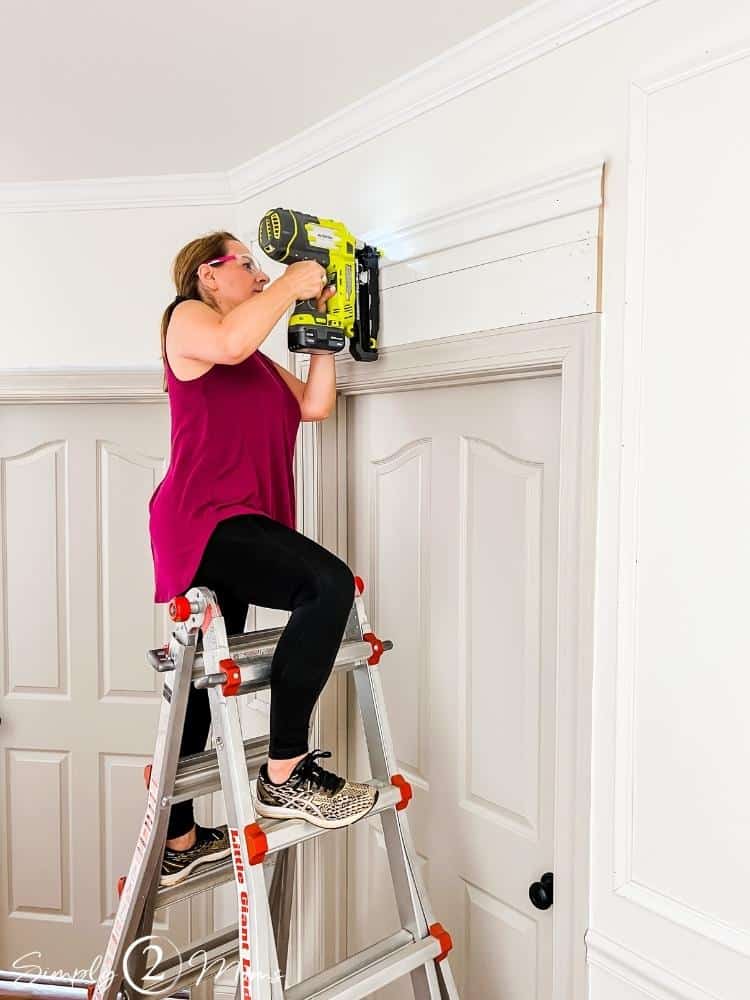
Be sure to set the power for your nail gun to be strong enough to go through the boards plus the studs.
I stacked two 1×6 boards directly on top of each other.
If your ceilings are 8-foot high, you may only need one 1×6 board.
The window casing trim is overlapping the top 1×6 board.
S2M Tip: Be sure to use a sturdy ladder meant for construction for this kind of project! A painting ladder could easily tip when you’re leaning into the job to apply enough pressure to fire the nails through the studs.

The screen trim is the perfect option to hide the seam between the two boards!
It also simulates the look of the “crown and neck” moulding we have on the first floor of our house.
I lined up the top edge of the screen trim along the top edge of the first 1×6.
Caulk does the trick to completely disguise any seam.

I cut mitered returns for the casing for a nicely finished look.
I’ll share the process for cutting a mitered return in another post.
It’s a “trick” I figured out after some trial and error when we installed the chair railing!

The tiny pieces of trim would likely split if I nailed them in, so I used wood glue to hold those pieces in place.
Painters tape helped to hold the pieces in place while the wood glue dried.

Some of the nails didn’t fire deep enough, despite my leaning into the job.
I used a nail set and hammer to get them sunk the rest of the way into the wood.
It was a royal pain in the you know where…
Then it was time to fill the nail holes (I love using joint compound!), then some light sanding.
Next, came caulk-a-palooza!
If you’ve never tried using baby wipes while caulking, you’ve got to give this hack a try.
It really made the caulking so much easier and was way less messy.
Finally, it was time to paint.

Don’t look too closely at my edges…
I still need to get a smaller paint brush to finish painting the curved parts at the top of the door headers, and then I’ll do my cutting in.
Instead, look at how pretty these decorative headers look!
I still can’t believe what a difference they make in this space.
Check Out This Before and After!
Everyone loves a good before and after, so let’s take a look at how the doors look with and without the headers.

I have so many more things to share about this project!
Like how to do the mitered returns, how to measure and plan picture boxes, tips for choosing hallway lighting, hacks for installing trim, and of course, the full reveal,
Be sure to subscribe so you don’t miss any of these details!

Click on any image to shop items from this post
If you have any questions or suggestions, contact me or leave a comment.
Don’t miss any of our tips, tricks, or stories! We’d love for you to follow us on social media! You can find us on TikTok, Instagram, Pinterest, and Facebook.

Pin it to Remember it!