
How to Transform a Dollar Store Pumpkin in 5 Simple Steps


Wait until you see how easy it is to transform an ugly Dollar Store pumpkin! Follow these 5 simple steps to create a super cute rustic burlap pumpkin for your fall home decor.
It’s that time of year!
and pumpkin decor…
and pumpkin crafting…
It’s time for pumpkin everything!
Today I’m going to show you how to make a super cute pumpkin DIY project that I know you’re going to just love.
You may even want to make more than one…they’re that cute!
It’s a really easy & affordable fall craft.
You’re going to want to go to the Dollar Store now.
Seriously…
Go now!
Posts on Simply2Moms may contain affiliate links which means we may earn a small commission on purchases at no extra cost to you. As an Amazon Associate, I earn from qualifying purchases. You can read our full disclosure policy here.
What Supplies Do You Need for a Pumpkin Makeover?

You don’t need many supplies and you may even have some already on hand like I did.
The only thing I had to purchase for this fall DIY project was the carvable styrofoam pumpkin from the Dollar Store.
If you don’t have a dollar store nearby, don’t worry here’s the same pumpkin from Amazon.
The price lowers if you buy a set of four and drops even more if you get a set of six.
So go ahead and order a bunch to make these cute little guys this fall!
- Styrofoam pumpkin
- burlap garland
- craft paint
- paint brush
- scissors
- small piece of a tree branch
How to Makeover an Ugly Foam Pumpkin

In just 5 easy step we’re going to take this ugly pumpkin from drab to fab!
A simple project that will take you less than 15 minutes to make.
Step 1: Remove Foam Pumpkin Stem

The green pumpkin stem is easy to pull out of the carvable styrofoam pumpkin.
It’s just attached with a toothpick so go ahead and pull it out because we are going to replace it with something even better later!
You’ll need to create a larger opening on the top of the pumpkin than the tiny hole from that toothpick.
Use a pair of scissors to make a bigger hole where you just removed the green stem.
The new hole needs to be about an inch wide.
Step 2: Paint Pumpkin

Next, you’ll want to paint the pumpkin.
I painted the pumpkin so that the bright orange didn’t show through the open weave in the burlap.
For my end result, I wanted a more neutral look for my new pumpkin.
But if orange is your jam and you want a peek of color through the open weave of the burlap then you can totally skip painting it first.

Since I didn’t want to buy new paint I used what was already in my craft supplies.
I decided to add a little white to brown craft paint to create a color closer to the burlap color.
But this color is probably a better match if you don’t have paint and will be purchasing it anyway.
It will just save you a step from mixing the two colors together.
Painting the pumpkin took less than five minutes to cover well with one coat of paint.
The trickiest part was not getting paint all over my hands. LOL
Step 3: Cut Burlap Garland into Strips

I used 5″ burlap garland ribbon that I already had in my stash of craft supplies.
Yay for another free item to complete this makeover!
Be sure to check your local craft stores after the fall season for discounted burlap ribbons.
If it’s packaged for fall it will eventually be on clearance.
Then the store will bring the same exact ribbon out for Christmas with different packaging at a higher price point.
I always have this burlap on hand for various craft or home decorating projects.
It’s also great for gift wrapping.
The 5″ width is perfect for so many things and love it as garland on my Christmas tree, but for this craft, it was a little too wide.
In order to get the correct size strips of burlap you’ll need to do a bit of cutting, so be sure you have a sharp pair of scissors.
First, cut 2 – 18″ lengths of the burlap garland.
Then take each of those 18″ lengths of ribbon and cut them in half lengthwise.
You should now have 4 strips of burlap that are each 2.5″ wide by 18″ long.
Step 4: Wrap Pumpkin with Burlap


Now it’s time to wrap the painted pumpkin in your cut burlap pieces.
First, lay the burlap strips on the table evenly spaced in a circular pattern crossing over each other in the center.
Then, take the painted foam pumpkin and place it in the center of the criss-crossed pieces of burlap.
Next, pull each side of each strip of burlap over the pumpkin to the top and push the end of the burlap into the larger hole you made earlier.

The burlap pieces should be long enough to fit down into the hold on the top of the pumpkin.
However, if the burlap doesn’t feel secure in the hole you can grab a glue gun and attach the top of the burlap to the pumpkin.
Repeat this step for each strip of burlap until the pumpkin is covered and all the ends are secured on the top of the pumpkin.
Step 5: Add Pumpkin Stem

The last step is to add a stem to your pumpkin.
I found a small fallen tree branch from the woods behind my house and broke a piece off for the stem.
I just pushed the stick as far into the hole on top of the pumpkin as I could to create the look of a stem.
The new stem not only looks great, but it will also hold the ends of the burlap in place!

If you want to be sure the stick will stay in place you can add a bit of glue but I didn’t feel the need as mine was pretty secure.
It really depends on that earlier step and how large you made the hole on the top of your pumpkin.
Another option is to use real pumpkin stems if you can find some that have fallen off pumpkins in those big ol’ boxes at the grocery store.
Or save the stems from your real pumpkins for crafting another dollar store pumpkin next year.
But sticks also work just fine and give that natural vibe to your burlap pumpkin.


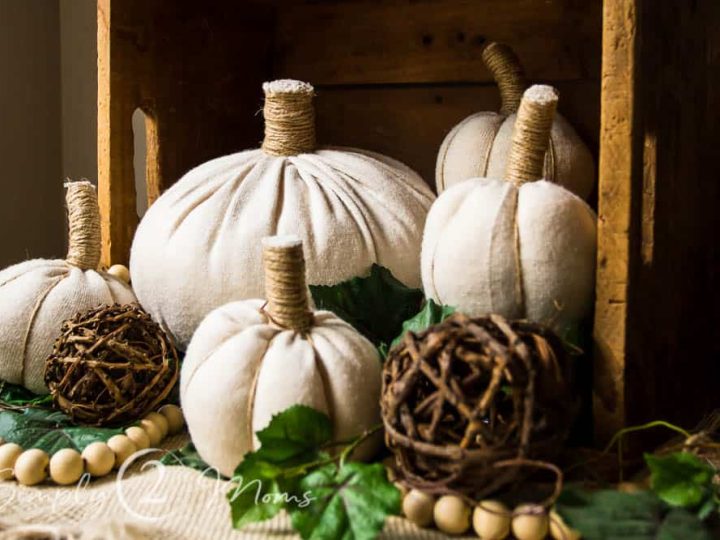
So cute right!?!
Simple to make!
And you can’t beat the cost to make this fun fall project!
Where Can You Display a DIY Burlap Pumpkin?

So you’ve got this super cute DIY burlap pumpkin now but where do you display it?
Well, I’m so very glad you asked!
I had fun styling this little guy!
Why not sit your pumpkin on a stack of books?
Here he is, sitting proudly at the center of attention on a stack of books on my wicker side table!

Do you have a string of wood and twine beads?
Yes!?
Then throw some around the burlap pumpkin to dress him up a bit more.
I just love the neutral colors and texture on this little table.

You can add your new burlap pumpkin to a fall vignette on a console tabletop.
The natural texture of the burlap looks beautiful next to this rustic vase of fall stems.
The neutral colors coordinate so well and are just perfect for fall.

Give the little pumpkin some height by placing it on a small wood riser and let him take the stage on the table.
Which spot do you like best?
Do you have any other ideas on how to transform a dollar store pumpkin?

Click on this image to shop items from this post

Sources: foam carvable pumpkin | burlap | scissors | white craft paint | brown craft paint | tan craft paint | paint brush

More S2M Fall Craft Ideas
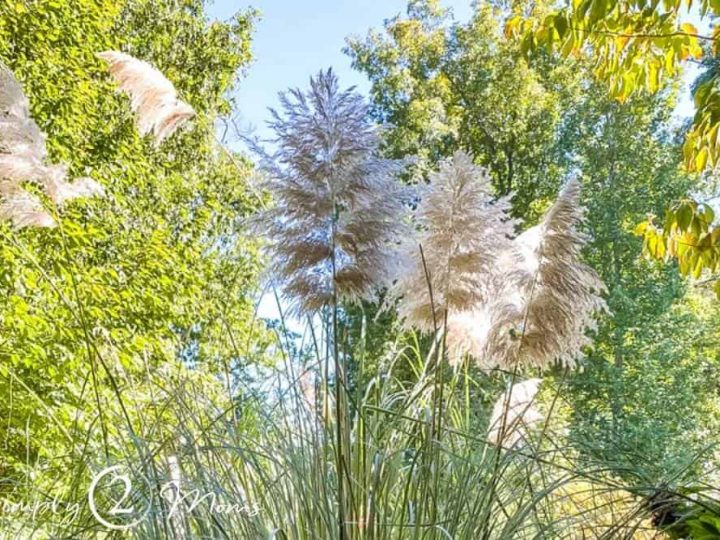
How to Dry Pampas Grass in 3 Easy Steps
Learn how to dry pampas grass in 3 easy steps without waiting weeks for drying. Cut and style your pampas grass on the same day.
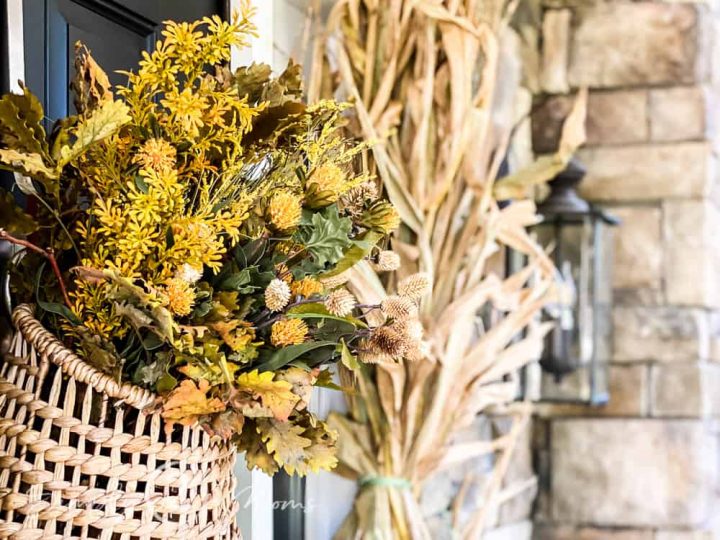
How to Create a Gorgeous Hanging Door Basket for Fall
Wow, your guests with a gorgeous warm welcoming entrance! Get all the details to create a gorgeous fall hanging door basket. A beautiful alternative to a traditional door wreath.
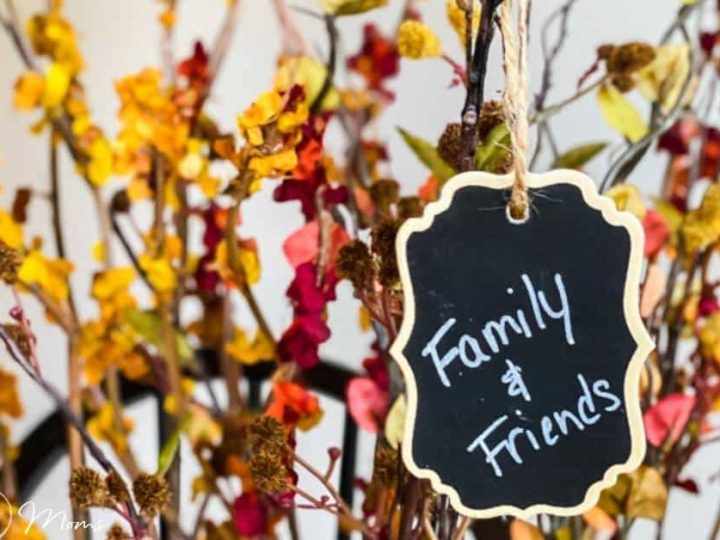
How to Make a Thankful Tree for Thanksgiving
The Thankful Tree is a simple craft that you will want to make a new family tradition. Follow our simple steps to create your own for Thanksgiving.
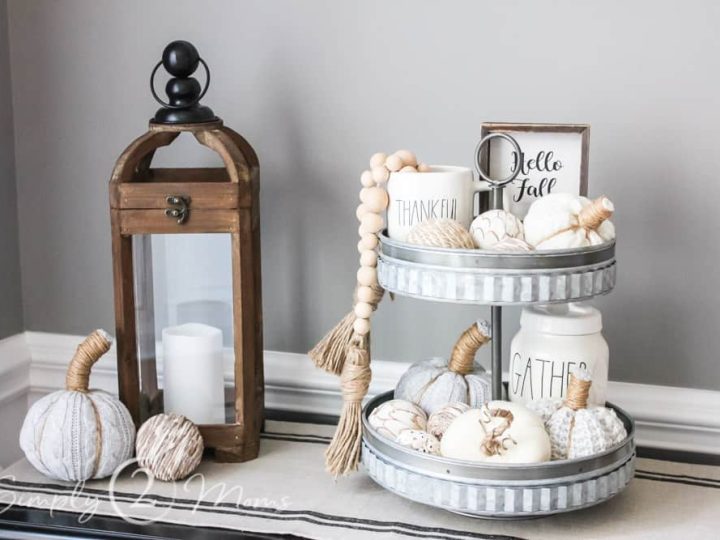
Simple Steps to Style a Fall Tiered Tray
Want to add simple seasonal fall decor to any space in your home? Then follow these easy steps to create a beautiful fall tiered tray you will be proud to display.
How to Make Simple Halloween Milk Jug Luminaries
Milk jug luminaries are a simple and affordable craft! Easy enough to do with kids, they’re the perfect way to illuminate the path for trick or treaters.
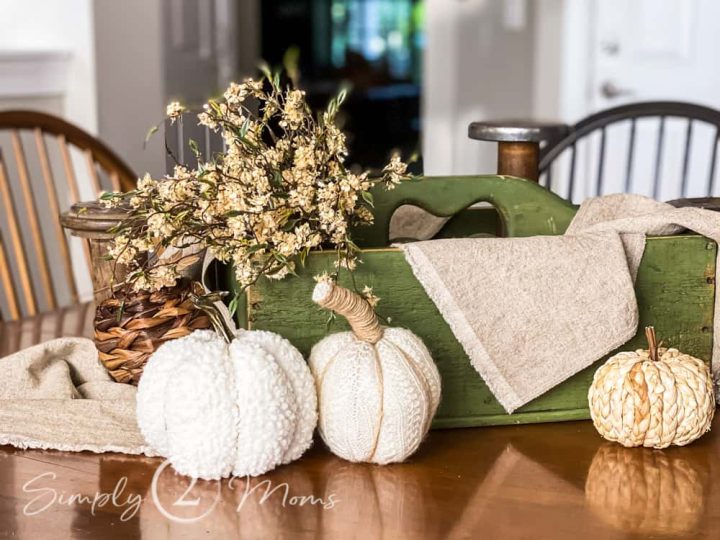
The Secret to Creating a Simple Neutral Fall Centerpiece
Learn how to create a simple, neutral fall centerpiece perfect for your kitchen or dining room table, console, or buffet!

Fall Floral Wreath | Simple DIY Project
Learn how to make an easy DIY fall floral wreath for your home or your front door. Follow along with our simple, step by step instructions to make your own fall wreath.
How to Make Super Cute, No-Sew Sweater Pumpkins
Turn your old sweaters, or thrift store finds, into adorable pumpkins for fall or Thanksgiving decorating with this SIMPLE, no-sew project! One sweater easily becomes five pumpkins with the snip of your scissors.

DIY Dollar Store Pumpkin
Wait until you see how easy it is to transform an ugly Dollar Store pumpkin! Follow these 5 simple steps to create a super cute rustic burlap pumpkin for your fall home decor.
Materials
- Styrofoam pumpkin
- paint
- burlap ribbon
- piece of stick for stem
Tools
- scissors
Instructions
- Remove the styrofoam stem from the pumpkin and cut a 1" hole in the top of the pumpkin.
- Paint pumpkin beige.
- Cut 4 pieces of burlap 2.5" wide by 18" long.
- Place burlap strips in a circle crisscrossing over each other in the middle then put the pumpkin in the middle bring the strips up over the pumpkin and stick each end of the burlap in the hole at the top of the pumpkin.
- Add a small stick in the hole at the top of the pumpkin for the stem.
Questions or suggestions, contact me or leave a comment!
Don’t miss any of our tips, tricks, or stories! We’d love for you to follow us on social media! You can find us on TikTok, Instagram, Pinterest, and Facebook.

Pin it to Remember it:

I would’ve added some kind of embellishments such as such kind of leaves, moss, floral, something.Otherwise great idea!
Those are all great ideas! It’s so fun getting creative, isn’t it?!